Building a color palette generator
Very few of the projects I begin end up being released. For once, I managed to build something useful. Here is how I built Paletteify.
7 min read
February 20, 2021

Why is it useful?
One of the most important things, when I build something, is that I, Marc-Antoine Ferland, actually want to use it. If I don't need it I won't find the drive to complete it. I'll start the project, learn whatever I wanted from the tech stack I started and that's it. The project will soon be forgotten. Plus, it's very hard to build something that solved a real problem if you don't experience the issue yourself.
But not this time. So what was different you might ask? Well, I had a real use case. I wanted to generate a colour palette for a website. I could have simply screenshotted the whole page and generated the palette from the image but that wouldn't have been as much fun isn't it? I was also too lazy to pick the pipette and select the colours all by one.
💡 Initial idea was to generate a Slack theme. I was invited to my new company's Slack (more info on that soon 😍) and I wanted to customize my Slack.
Have the end in mind
Generating a viable Slack colour theme was a little too complex. I decided to simply generate the colour palette and not worry too much if it would be usable on Slack (it is 😱). I say simply because as you will see, it ended up being a fair bit more complex than I expected. The infrastructure I ended up with is far different from what I had in mind. That's a great thing because I learned a couple of new tricks that could be very handy in the future.
Scope it down
🚀 Shipping something small > Shipping nothing
Another important aspect is that I think expectations must be scoped down. Keep it simple and iterate. I had the desire to ship a v1 quickly. This gives me a chance to collect feedback but also to feel some sense of accomplishment. Now that it's online I can iterate on it when I feel like it without any pressure. If the website ends up being used, well I can scale my infra and add more features. But at least it's live now 🎉. Even if I don't write another line of code for that project it's not rotting in a git repository. It provides real value (at least a little 😜).
Let's build it!
I don't really want to dive into the step-by-step process of building it. It would be long and uninteresting. I just want to explain the high-level process of it.
First, I looked to if this product already existed. After a bit of due diligence, my answer was no it doesn't. I didn't search for an absurd amount of time so it might exist but I was satisfied not having found anything.
Show me the packages
Then, I looked at how I could make this happen. This step is mostly me googling for the library name, looking on NPM for similarly named library and sometimes looking on Bundlephobia as it tends to suggest alternative lib.
I needed two specific libs to make it happen.
- One that could take a screenshot of a whole website page. This was somewhat difficult to find. Some lib makes it but the options I needed weren't always available. In the end, I found capture-website it uses Puppeteer behind the scene which will make my life a bit harder down the road.
- Another one to generate a colour palette from an image. This one was pretty easy to find. I could have sought an alternative but I didn't need it. node-vibrant did the trick.
Frontend stack
I elected to build the frontend part of the app with next.js because I really like this framework. Everything can be done super quickly. Most of the time I deploy my next project on Netlify. If you don't know about Netlify, go read about their offering. It's pretty cool and the free tier is super generous.
Backend stack
I don't build a whole lot of backend apps. It's not part of my day-to-day job and I don't often have personal projects who need them. So when I need one, I try to use node.js because it's the tech I'm most comfortable with. I also happen to like serverless functions quite a bit. So it's pretty cool that Netlify had a built-in serverless function feature. It's super easy to build simple (and even somewhat complex) functions with it. This is a superpower for the Jamstack!
So I did that, I built my API calls as two serverless functions. One to screenshot the website and another to generate a palette from the image file. And it worked. At least it worked on my machine. You can use netlify dev to build and test serverless functions locally. This is great. The thing is it doesn't have the same constraint in production. Oopsy!
What ended up being a deal-breaker was that my libraries were too big. The slug size was over AWS Lambda limit (on which Netlify Functions are built)
I had to rewrite my app as a node.js server that I then deployed to Heroku. That was pretty straightforward to do. A couple of bugfixes later I was ready. Or was I? Heroku has its specific sets of limitations.
For one, the request timeout is slightly aggressive. Screenshotting a whole website page can be rather long (it's worse on a hobby dyno 😅).
I discovered later that with the following capture-website's configuration I could greatly reduce the screenshot time while keeping more than sufficient image quality.
  captureWebsite
    .file(url, fileName, {
      fullPage: true,
      type: 'jpeg',
      quality: 0.75,
      scaleFactor: 1,
      disableAnimations: true,
      timeout: 45,
      overwrite: true
    })
But, I was again on the lookout for a new solution. Heroku offer background jobs whenever what you need to do is longer than its request timeout time.
That's what I decided to do. After a bit of digging, I built my solution with a Redis queue. The rest call would look if we have the palette cached (in FaundaDB) otherwise, it would queue a job. The worker would later pick the job and generate the palette.
I configured a bit of long polling and that was it. I had built a minimal product.
The frontend app handles most of the data normalization and error handling. It's where the polling is done and the results displayed for the user to access.

I'm quite satisfied with the general performance of the app and I'm happy because I think for once this app could benefit other people looking for a quick way to get a colour palette.
Downside
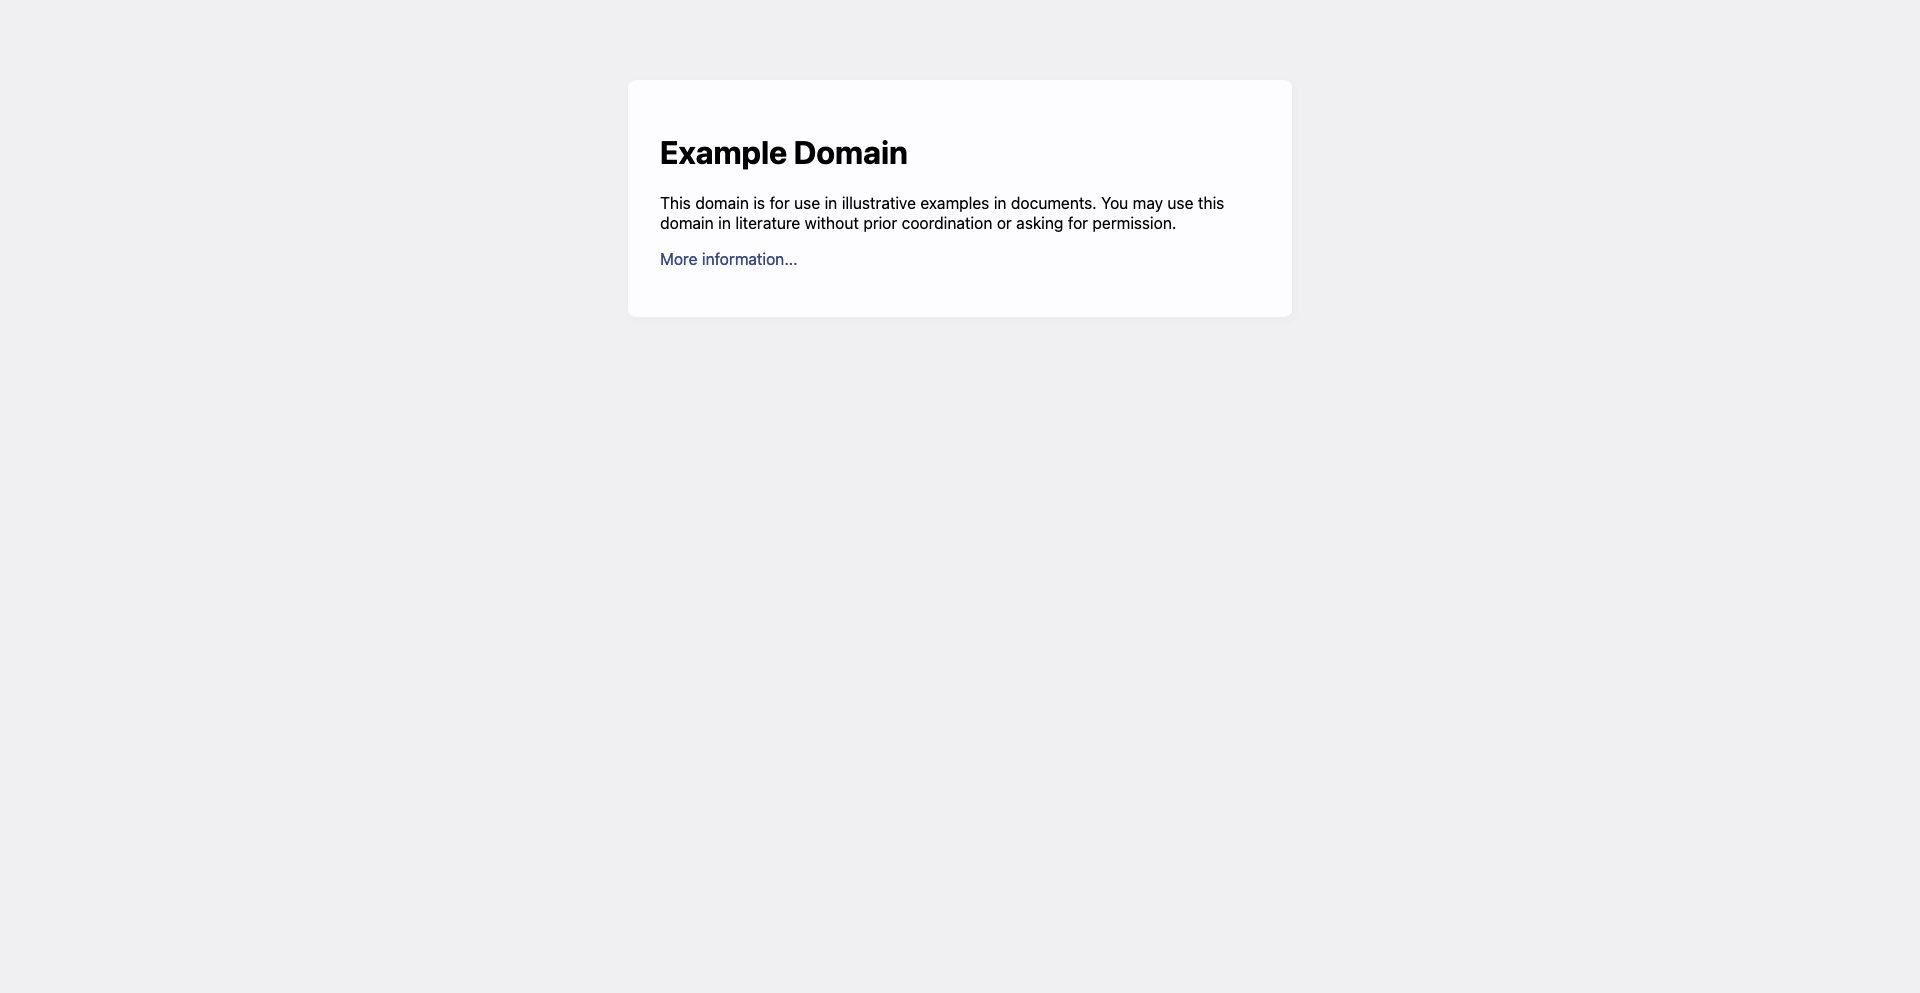
The precision of the tool isn't great but it does the job. One such example is example.com
Paletteify will generate the following palette
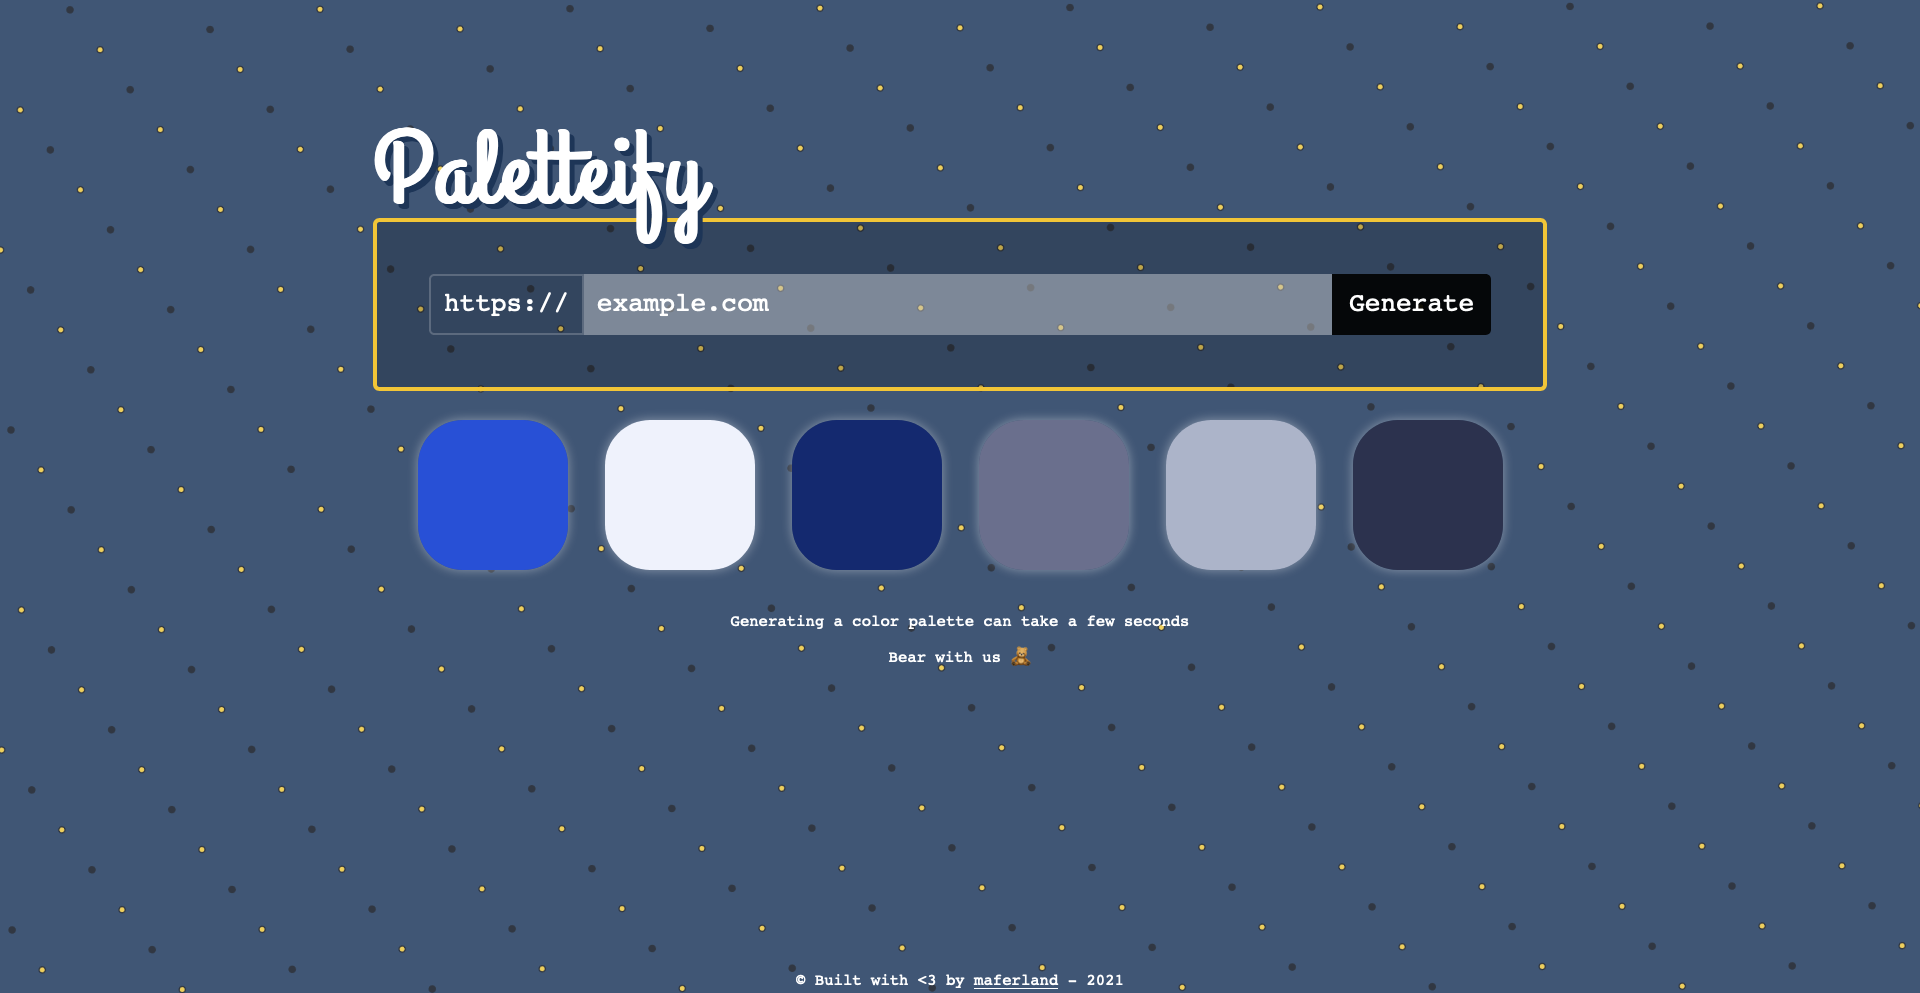
That's quite a lot of extrapolation, isn't it? I think it's still pretty useful. This tool is more meant as a design starting point. Don't rely too much on it. If you want the real colour code you're better just digging in the CSS and finding it by yourself.
Conclusion
This post is high-level on the tech side on purpose. I would be glad to answer any specific question. If you happen to have one feel free to reach out!
The source code for both the frontend and the backend app is available on my Github.
I'll most likely build additional features in the future. Or maybe not. I learned quite a bit about building a Redis queue in node.js with Heroku. And that, I think, is pretty cool.